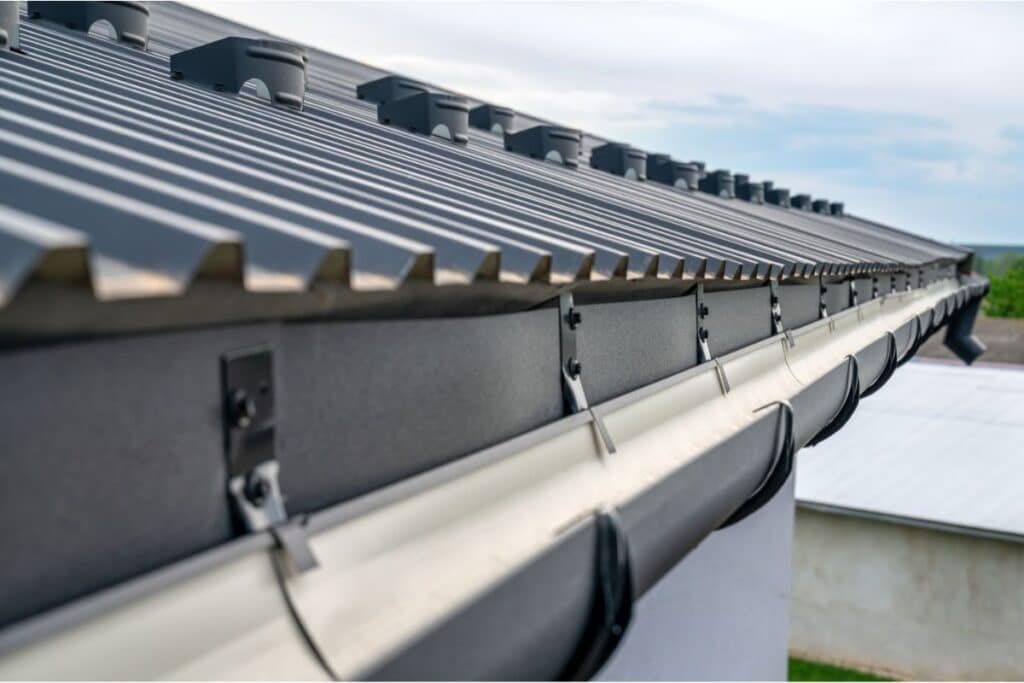
Knowing how to cut downspout and install it properly is key to keeping your home safe from water damage. This guide walks you through each step from checking your gutters to getting the right tools, measuring accurately, and securing the downspout in place. You will also learn how to seal connections to stop leaks and why downspouts are so important.
A well-installed downspout directs rainwater away from your home. This helps prevent issues like basement flooding, soil erosion, and damage to walls or landscaping. So you can follow these steps to protect your home and keep it dry.
What is a Gutter Downspout?
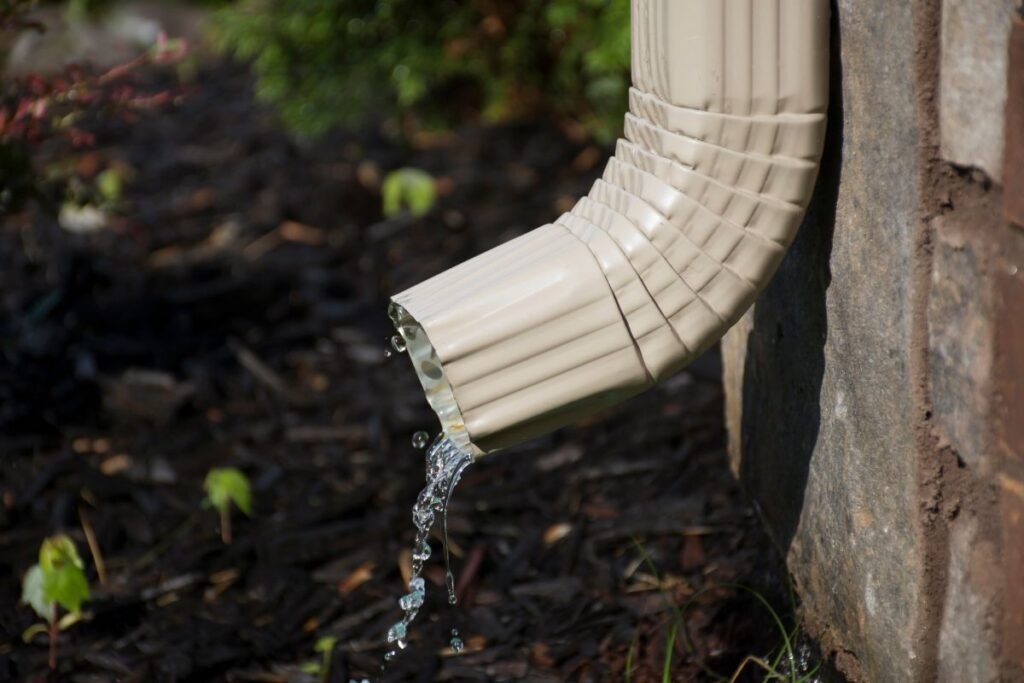
A gutter downspout is a vertical pipe that plays a crucial role in your home’s drainage system. It directs rainwater from the roof gutters down to the ground or a designated drainage area. Its main purpose is to prevent water from accumulating around your home’s foundation, which could lead to structural damage, soil erosion and basement flooding.
Without a properly installed downspout, water can overflow and damage your home. This leads to wood rot, mold growth, and harm to your landscaping. Therefore, having a functional downspout in place is vital for protecting both your home’s structure and your property’s overall safety.
How to Install a Gutter Downspout: Installation Tips and Maintenance Advice
Installing a downspout is essential for protecting your home. It directs water safely away from the foundation. Below is a detailed, step-by-step guide to help you through the process. For better installation or other gutter services, you should contact professional gutter contractors in your location.
1. Assess Your Setup
Before you install the downspout, examine your gutters and roof for damage or sagging areas. Check for debris and leaks that could block water flow. Fix these issues first to ensure the system works effectively. Choose the lowest point in the gutter for the downspout so it allows water to flow down by gravity. Ideally, place it near a drainage area like a driveway or rain barrel. You may need multiple downspouts to handle water efficiently.
2. Gather Tools and Materials
Before you begin the installation, Make sure you have the following necessary tools and materials on hand. You will need:
-
- Measuring tape
-
- Pencil for marking
-
- Hacksaw or power saw (if cutting is needed)
-
- Brackets and screws
-
- Drill
-
- Level
-
- Silicone sealant
-
- Gutter downspout kit (including elbows and connectors)
If you have these tools ready before starting the job, the process will be smoother and more efficient. Additionally, ensure that your downspout material matches your existing gutter system, whether it’s aluminum, vinyl, or copper.
3. Measure and Mark
Accurate measurements are crucial for a successful installation. You should start by measuring from the bottom edge of the gutter to the ground. Make sure you leave enough length for any bends or extensions needed in the downspout.
Use a pencil to mark where the downspout will connect to the gutter and where you will attach the brackets to the house. Be sure to leave a small gap between the bottom of the downspout and the ground to prevent clogging.
4. Cut if Necessary
If your downspout is too long or needs to be customized for your setup, then use a hacksaw or power saw to cut it to the correct length. It is important to make clean cuts to ensure a good fit and proper water flow. Take care and double-check your measurements before cutting to avoid mistakes.
5. Assemble Components
Once you cut the downspout to the right size, you can begin assembling the parts. Attach components like elbows and connectors to ensure a proper fit. These pieces help to guide the water from the gutter to the ground, especially if there are corners or tight spaces involved. Make sure all connections are secure and properly angled to direct water away from your foundation.
6. Secure the Downspout
Position the downspout along the house and ensure that it’s flush with the wall. Secure them every 3 to 5 feet along the downspout’s length. Use a drill to screw the brackets into the wall and make sure everything is level to avoid leaks or water misdirection.
7. Seal Connections
you can apply silicone sealant to all connections, joints, and seams to prevent leaks and ensure a watertight system. A good seal keeps water flowing smoothly through the downspout without leaking at weak points. This helps keep your home safe from water damage.
8. Final Placement
Finally, You should ensure the bottom of the downspout is properly positioned to direct water into a drainage system. If necessary, install a splash block or extension to guide the water safely away from your home. Once in place, give everything one last check to confirm that it’s securely fastened and ready to handle rainfall.
How To Cut Downspout: Step-by-Step Guide
Cutting a downspout might seem tricky but with the right tools and careful attention, it can be done easily. Here’s a detailed guide to help you cut your downspout precisely.
1. Prepare Your Tools
Before cutting, make sure you have all the necessary tools ready. For most downspouts, a hacksaw will suffice, but if you are working with a sturdier material like steel or copper, consider using a power saw with the appropriate blade. Other tools you will need include a measuring tape, pencil, clamps and sandpaper to smooth out the edges. Also, wear protective gloves and safety goggles to protect yourself from any metal shards or sharp edges during the cutting process.
Place the downspout on a stable surface to keep it from moving while you work. You can use clamps to hold the downspout in place to prevent any slipping which ensures a precise cut. Preparing thoroughly will help you avoid mistakes and ensure the downspout fits perfectly with the rest of your gutter system.
2. Measure for Precision
Accurate measurement is crucial when cutting a downspout. You should use a tape measure to determine the exact length of the downspout you need for your setup. Mark the spot with a pencil or marker and ensure the measurement allows for any necessary bends or extensions. Double-check your measurements before moving to the next step to avoid cutting too much or too little.
3. Secure the Downspout
Before making any cuts, you need to secure the downspout firmly using clamps or a heavy object to prevent it from shifting. Stability is key when cutting to ensure straight, even cuts without jagged edges.
4. Cut with Care
You should start cutting along the marked line with a hacksaw for a precise cut. Apply steady, even pressure while cutting to ensure a smooth, clean cut. If you are using a power saw then follow the same process but with extra caution to avoid overcutting or damaging the downspout.
5. Smooth the Edges
Once the downspout is cut, use sandpaper to smooth any rough or jagged edges. This step ensures a clean finish, helping to prevent injury during installation and allowing the downspout to fit seamlessly into your gutter system
6. Test Fit
After cutting and smoothing the downspout, check its fit to ensure it connects seamlessly with your gutter system. Ensure it fits snugly without any gaps or misalignment. If necessary, make any final adjustments before securing the downspout in place.
Why Gutter Downspouts Are Essential for Your Home
Gutter downspouts are not just simple pipes but are vital for protecting your home from water damage. Without them, rainwater can overflow and accumulate around your foundation. It leads to issues like basement flooding, erosion, and structural damageIf you properly install and maintain downspouts, you can safeguard your home’s foundation. This helps prevent costly repairs and ensures effective water flow management. In areas with heavy rainfall, downspouts ensure that excess water is directed away, keeping your landscaping intact and your home dry.
Conclusion
In this guide, you have learned each step of how to cut downspout. From gathering tools and measuring carefully to cutting, sealing, and securing it in place, you now have the complete process. Each part of the process directs rainwater away from your foundation. This helps keep your home safe from costly damage. With these steps, you now know how to cut a gutter downspout precisely and position it for maximum drainage. With this knowledge, now you are ready to maintain your gutters and protect your home from water problems.
Frequently Asked Questions
To install a gutter downspout, first measure the length needed from the gutter to the ground. Cut the downspout to size, then attach it to the gutter outlet with screws or brackets. Secure the bottom of the downspout to the ground with a splash block or extension to direct water away from your foundation.
You will need a measuring tape, hacksaw (or power saw), drill, screws, brackets, and a level. A pencil for marking measurements and silicone sealant for sealing joints can also be helpful.
Clean your gutter downspouts at least twice a year, ideally in spring and fall. If you have many trees nearby, you may need to check and clean them more often to prevent clogs.
Place downspouts every 20 to 30 feet along the gutter. However, the spacing may vary based on the size of your roof and the amount of rainfall in your area. Larger roofs may need downspouts placed closer together.
The best way to cut a downspout is to use a hacksaw. Therefore, you need to measure carefully, mark your cut line and make the cut slowly to ensure a straight edge.
To prevent leaks you need to make sure all joints and connections are tightly secured. Use silicone sealant at joints to create a watertight seal. Regularly inspect for damage and repair any cracks or holes immediately.
Frequent clogs in your gutter downspout are often caused by leaves, twigs, and other debris building up inside. Overhanging trees significantly contribute to this problem, especially during fall when leaves drop. When debris collects, it can block the flow of water, causing overflow and potential damage to your home’s foundation.
To reduce clogs, consider installing gutter guards, which can keep larger debris out while allowing water to flow through.
You can install downspouts yourself if you are comfortable with basic tools and measurements. However, if your home has a complex gutter system or you are unsure then you can hire a professional for proper installation.
To maintain your downspout, you need to clean it regularly and check for any signs of damage, such as rust or leaks. Ensure that it is directing water away from your foundation, and trim any nearby trees or shrubs to prevent debris buildup.
You should consider replacing your downspout if you notice the following signs:
- Visible rust or holes
- Leaks at joints
- Frequent clogs
- Pooling water around the foundation
- Dents or cracks
Addressing these issues quickly is important to prevent potential damage to your home.

